Flipgrid: Empowering Voices with Asynchronous Online Video Discussions
by Patrick Murphy, Senior Lecturer in the Department of Spanish & Portuguese
 Flipgrid is a free online video tool from Microsoft that allows students to record video for up to 10 minutes. It has a lot of fun visual effects as well as intuitive assessment and feedback options that can be included in rubric evaluation and grading components. When I came to the realization that I would be teaching my classes completely online for the remainder of the term, I really wanted to utilize the tech tools my students already knew to minimize new training that would be necessary and to ease that burden in class. Fortunately, for my classes, Flipgrid was in our repertoire before the pandemic, but let me assure you, this is one tool easily integrated to any class really at any time. It is extremely user friendly and requires very little technological skill to set up and execute.
I have been using Flipgrid in my classes for the past two years. It is the easiest tech platform that I use for a number of reasons that I hope to outline here. I use it for asynchronous language practice in Spanish for High Beginners (1103), but I believe it can be useful in other classes as well. Your students can use Flipgrid with a google account sign in or no sign in at all. As you will see, you only need to supply students with a “flipcode” which is an alphanumeric code to enter the grid and record a video or respond to an instructor’s or classmate’s video. These grids can be public or password protected for increased privacy. There are tons of options for using this tool. If you have students sign in with an email account, this added step would allow students to view feedback and rubric scores if you choose to use it that way. It also creates a low-pressure environment for students to speak extemporaneously without the anxiety of evaluation in the moment. I use video recording for most of my performance assessments in the presentational mode for Spanish, and my students have reported they love this tool because it allows them to speak naturally about a topic in their own space and on their own time in many cases. In addition, I have noted an unintended outcome of using Flipgrid.
For students that suffer from clinical anxiety when speaking in front of others, FlipGrid has radically helped them specifically. This platform allows those students an opportunity to participate more effectively in class overall, so what may feel like a disadvantage or weakness in performance in class can become a strength outside of class for these individuals.
As I stated, I have been using Flipgird in my hybrid class for a weekly asynchronous lesson before the Covid pandemic. The only difference now is that I use it even more as we have increased our asynchronous tasks significantly this semester.
How to use Flipgrid
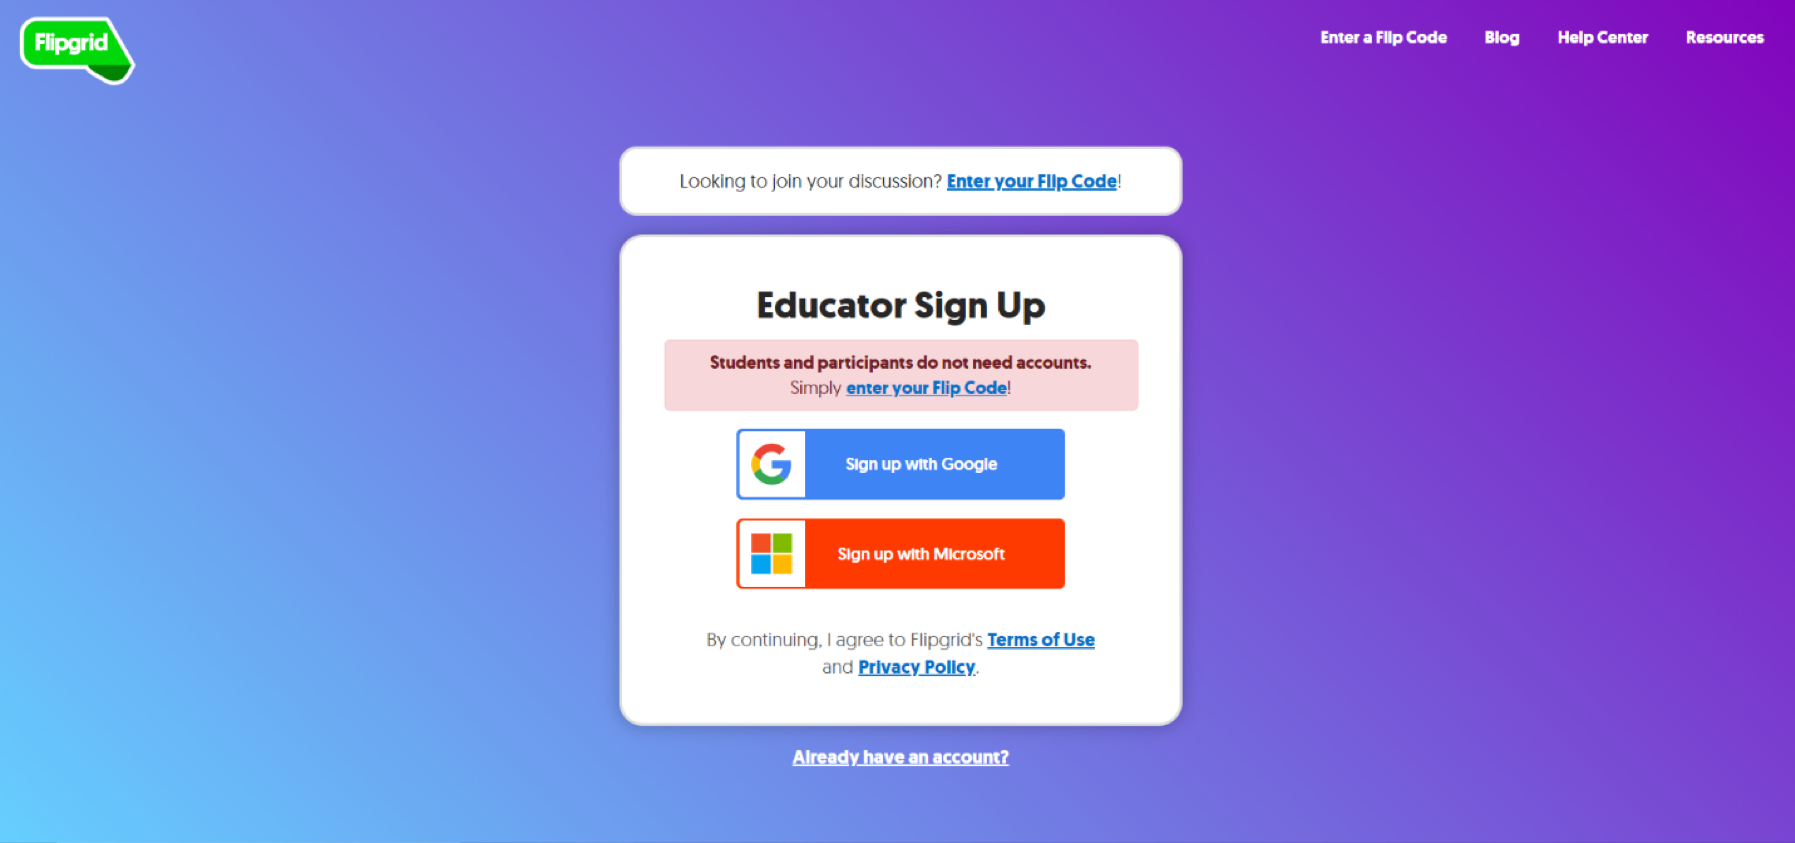
As the instructor you will first go to the website www.flipgrid.com and create an educator account. Again, this is a free site with absolutely no cost to you or the students. You will need to use a Google email or Microsoft account to sign up.
Once you create your account, you will be ready to create your first “grid”. The grid is the space that will house your topics and prompts for the video recordings from your students.
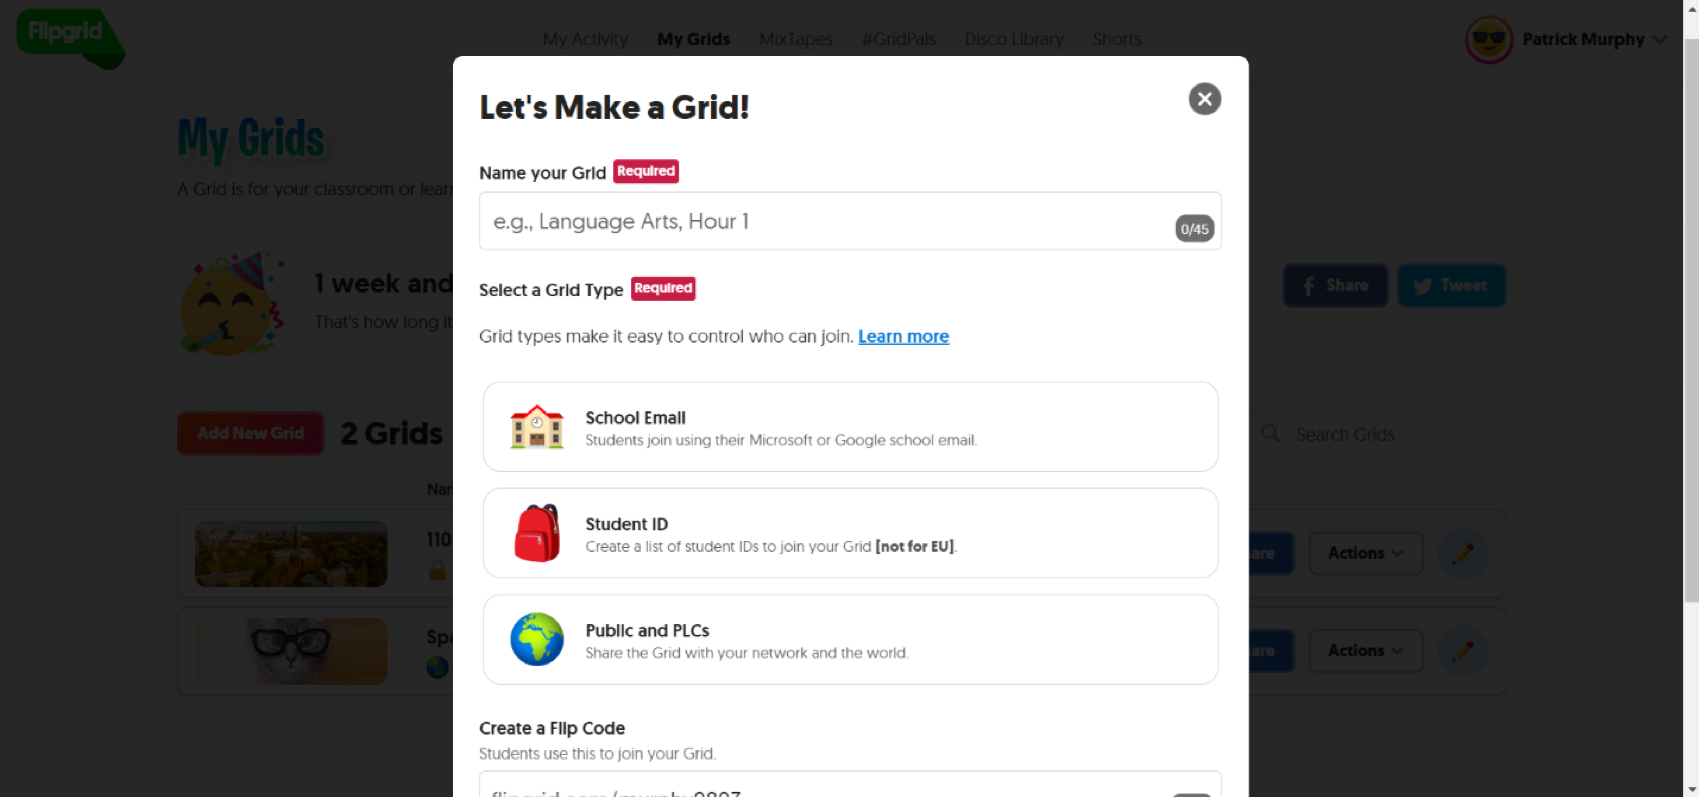
First, click on “New grid” and from the grid launch pad, you have a few different options for how you want students to access your grid. I prefer to make them public, so students do NOT need to sign up for an account, and they will only need a code. This makes it easier for the students to enter the site and record without logging in. However, if you would like to use the assessment features and have students able to read their feedback, they will need to sign in with a school Google or Microsoft email account. This may be more useful during our current remote teaching reality. Next, you will create the grid name and you can select an image to personalize your grid. One thing I really like about this site is how fun and personable it can be. You can use stock photos or something of your own. Next, you have the option of adding a grid password. I use this for my grids, so I can give the password to my students and only they will have that access to the grid and its topics. It is optional, however. Finally, click on “Launch my grid”. Then you are all set to add specific topics.
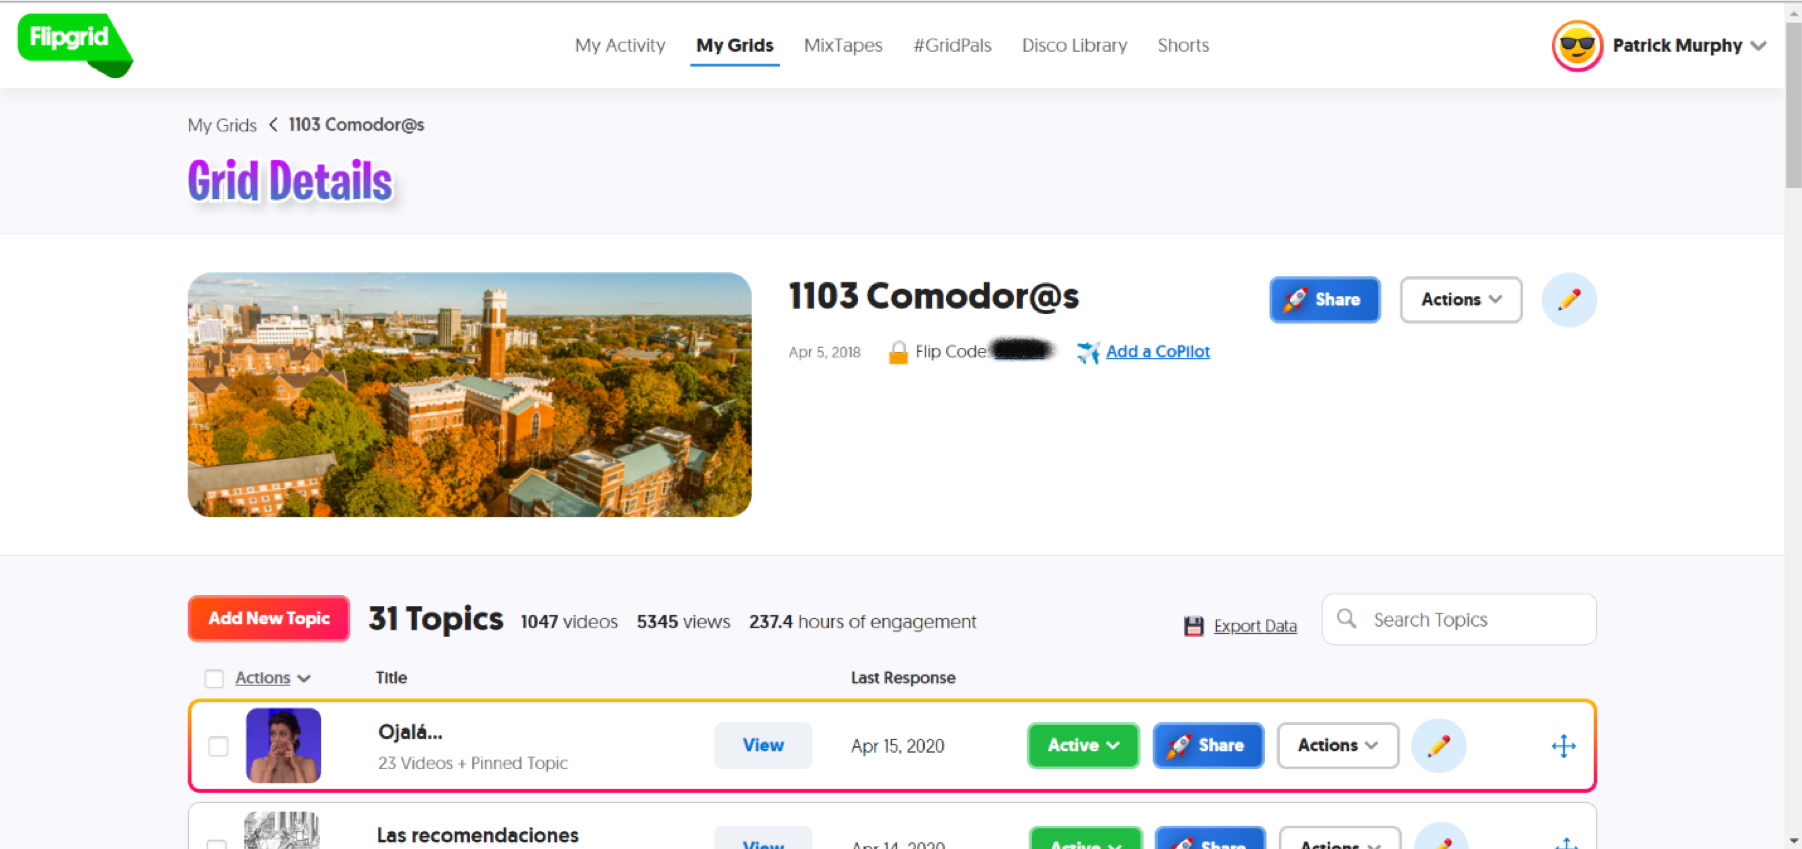
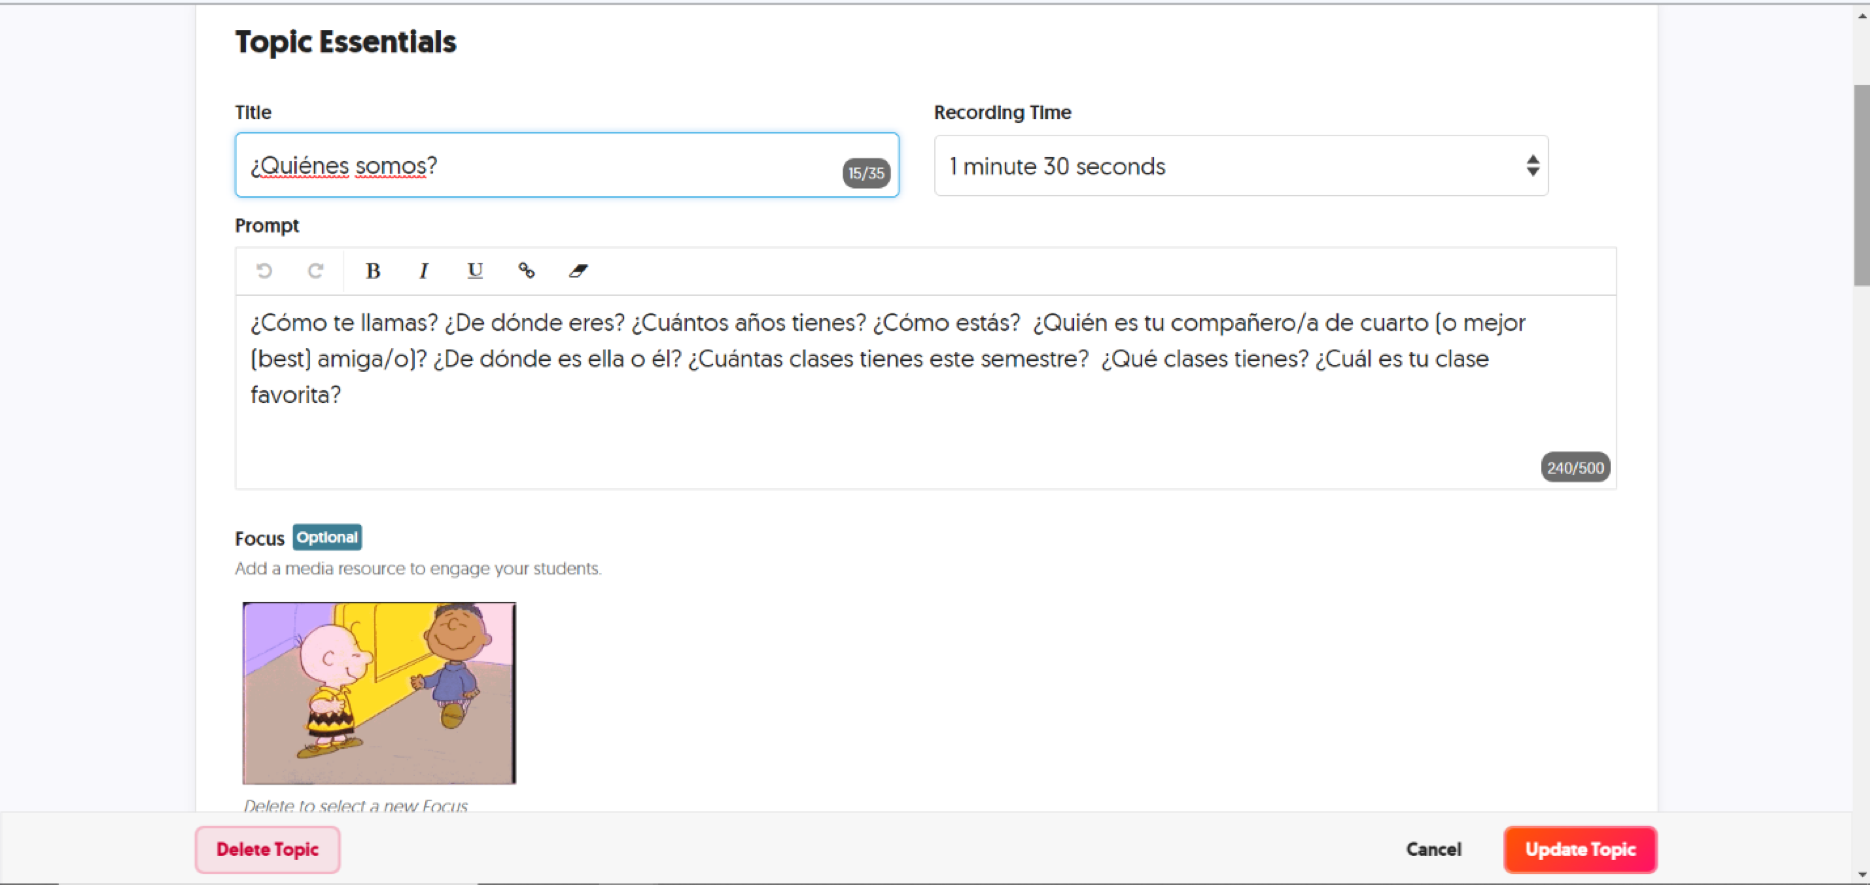
You can create multiple grids depending on your number of classes or your personal preference. I prefer one grid, and then I create specific topics that I would like for my students to speak about on their own. Before moving online completely, I would assign one topic a week, but during this time of remote teaching, I have increased it to three or four topics a week. In order to create the topic, from the grid portal, there is a button called “Add New topic”. Click on that to create a specific topic for your class or classes. You will need to give it a title and set the length of the videos from 15 seconds to 10 minutes. For me the timing is important, so I do not have students speaking too long, and I can give them explicit instruction on the minimum speaking requirement as well. You will also have a text box for adding prompt or topic for the recording. This step is important for students in the elementary level I teach especially, so they have explicit instruction on the goal for their speaking and the specific information you (the instructor) want to hear. Next, you can add a focus, which can be an emoji, a photo upload, or even a gif. This always adds a personal touch, but it is optional.
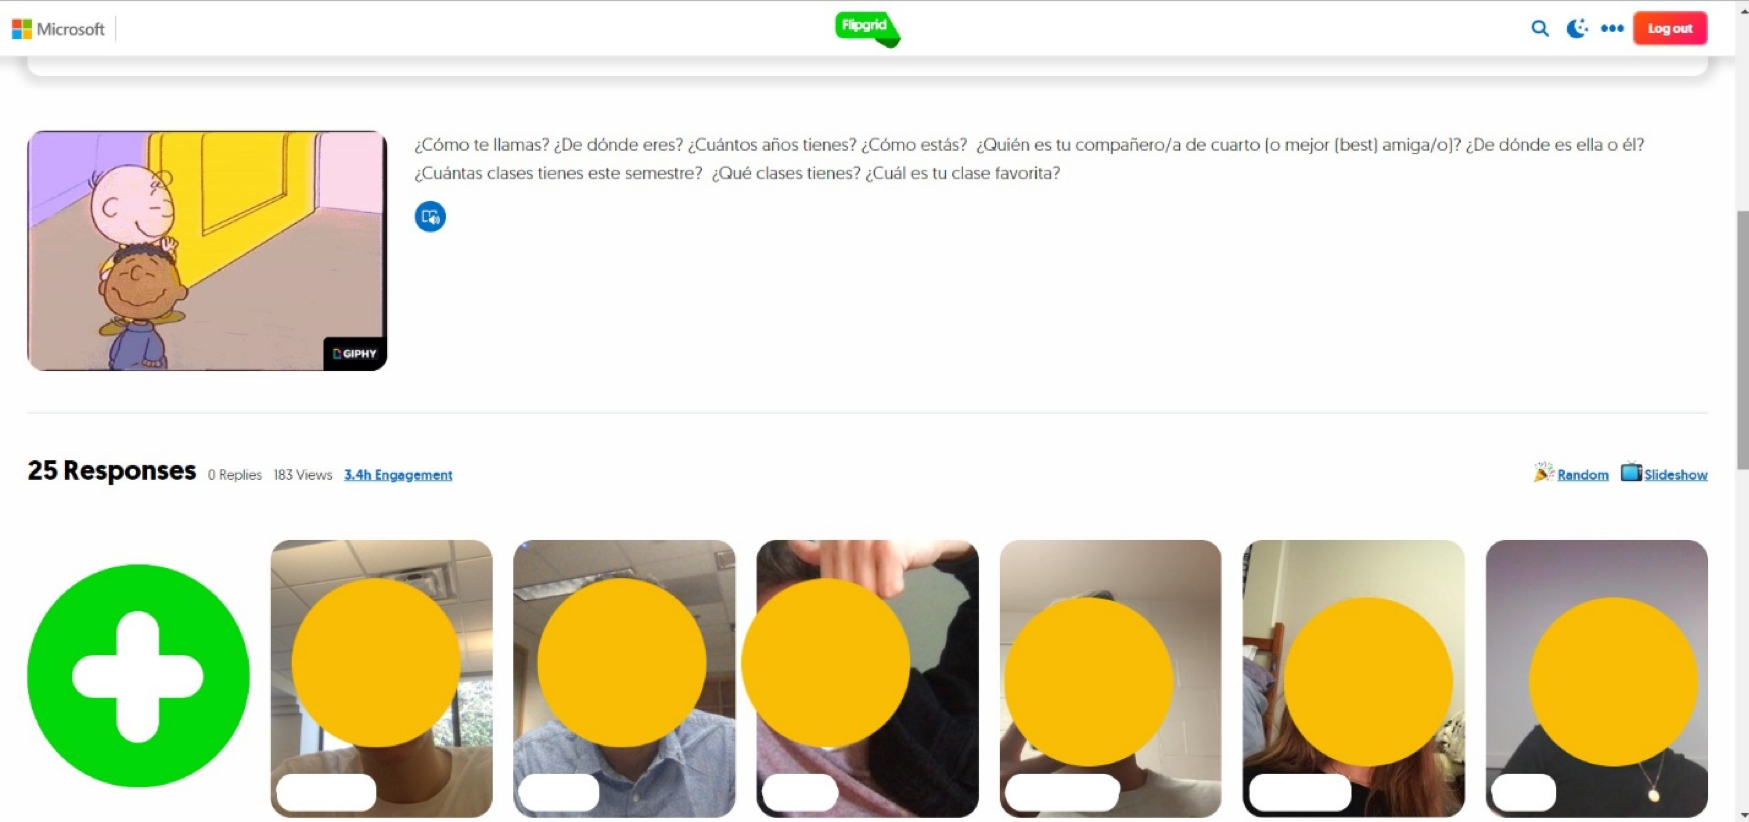
Finally click create topic, and this will generate a unique alphanumeric “Flipcode” for your topic. This is what you will give your students when you assign the activity along with the password if you created one. So now, you have your grid and topic prepared with a code and password. Students will go to www.flipgrid.com and enter the unique Flipcode and password you provide. Once they have done this, they will see a large green button, the prompt stimulus, and any other submitted videos.
Students will click on the green button which will activate the camera and microphone, and they are ready to record. Once they record, they can upload the video. The grid then will house all of the videos for everyone to see that has access to the topic grid. Students can post with emojis and stickers, which my students really enjoy.
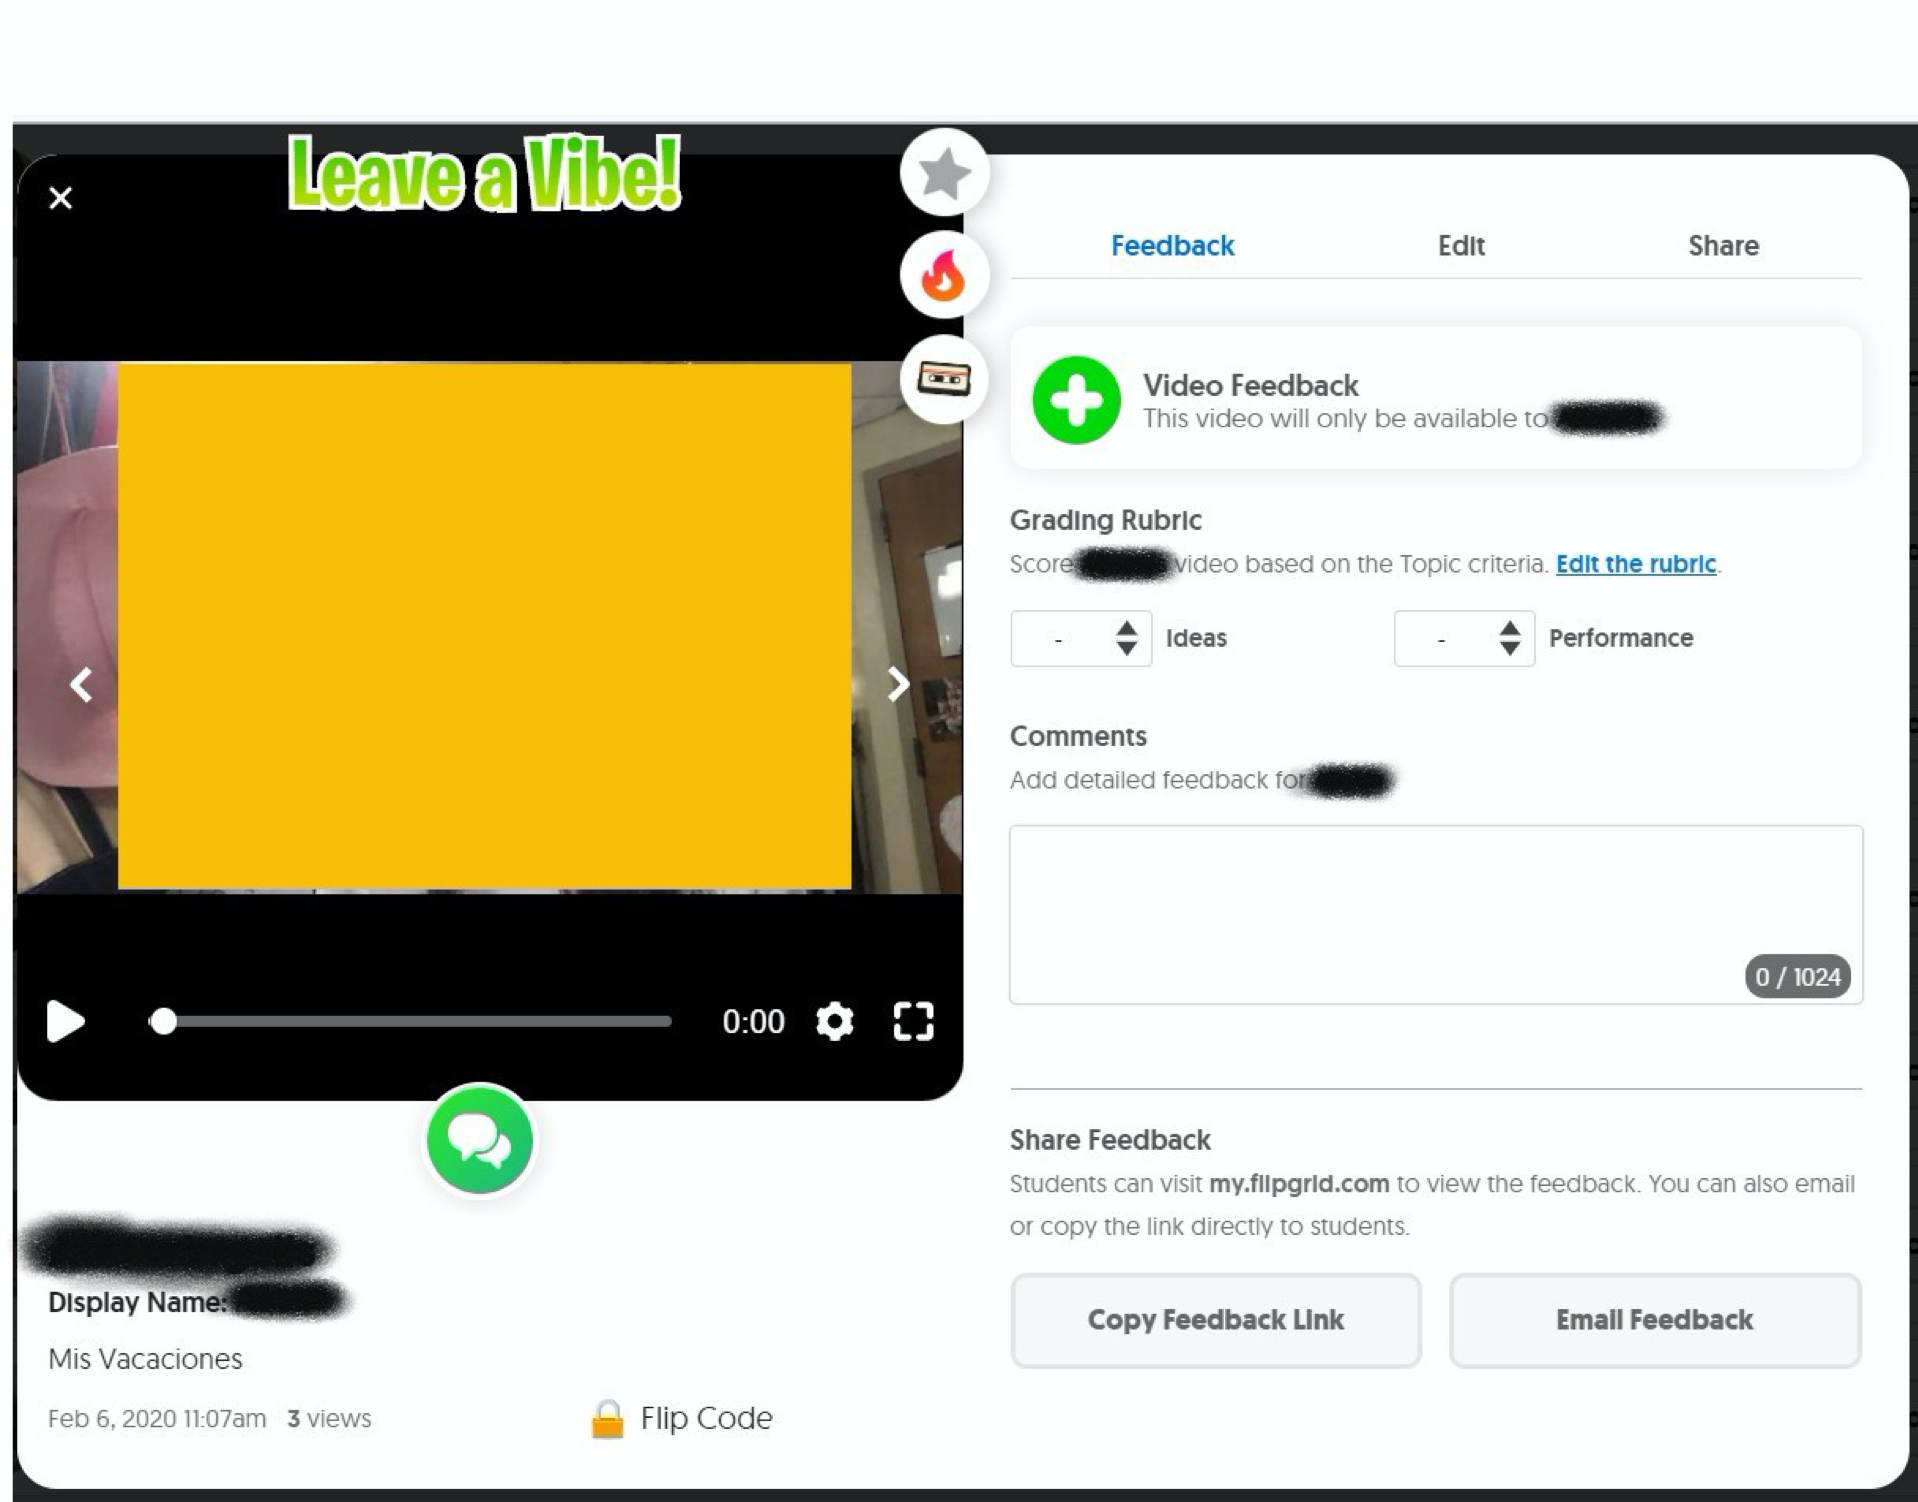
As students become more advanced, I require them to post a video and then a response to a classmate’s video. Additionally, if you require your students to sign in, you can evaluate the video with feedback a number of ways. You can post a private response video; you can assign a rubric and score, or simply give written private feedback. I typically use this feature now since I teach a large number of students, and it is more efficient for me as the instructor.
In addition, Flipgrid has many other features if you are interested in really diving deeper. For example, each grid will generate a QR code for students to access from the Flipgrid app, or you can use the QR code for augmented reality in which you watch student’s videos as a screen overlay while multitasking. It is very cool!
Finally, there is also a new screen-recording feature that you can use to present asynchronously to model short video lessons, or you can have students present with screen recording videos as well. I have not used this feature yet, but Flipgrid’s developers are always coming up with ways to enhance the platform. It is a wonderful tool that is useful for asynchronous online learning.
I also have a video presentation on using Flipgrid in the language classroom here: https://www.languagepanda.org/lpresults/entry/56/?gvid=263 and you can follow Flipgrid news and updates on Twitter here: https://twitter.com/Flipgrid
.
.
.

Leave a Response